It really pains me to buy anything new. If you think about it, everything you’ve ever owned in your entire life still exists somewhere in a landfill. If I can keep from contributing to that, then I’m going to do my best to make it happen. And by “I”, I mean “we”, and by “we” I mean “the Handyman”. But hey, that’s why I married him; he’s handy!
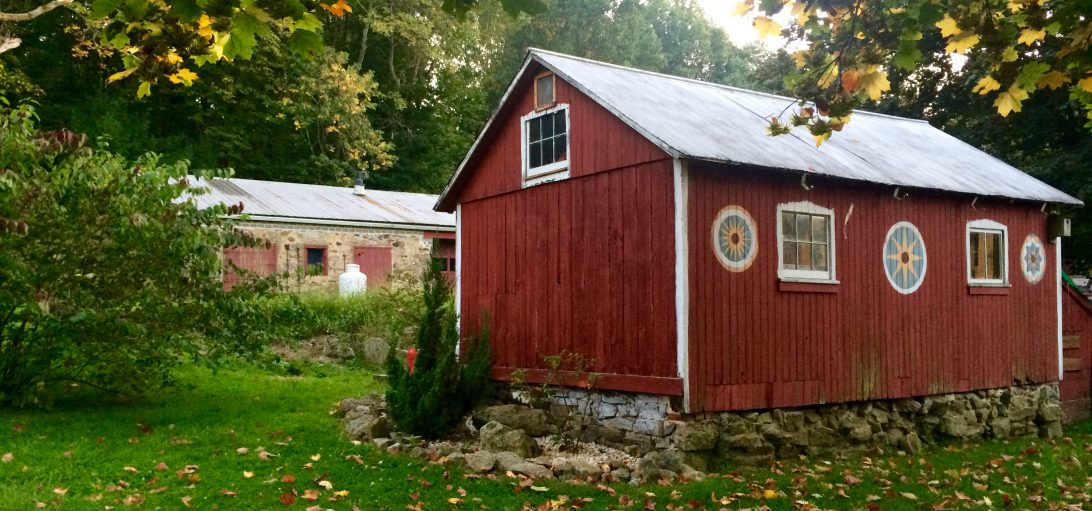
So, now we are making our chicken coop. After my talk with Dax from Beets Workin’ Farm, the Handyman and I decided to lay out an outline of what features we wanted in the coop. We knew where we wanted to put it already. We have a cinder block shed mid-way through the yard, a dozen yards from where the garden is going. The kids have lovingly named it Creepy Shed, because it’s … terrifying. It’s dark, grey, dilapidated, and full of spiders. There is a new paint job in its near future, but for now it’s Creepy Shed.
Just off Creepy Shed is where the coop is going. The area gets full sun in winter, to help keep the chickens warm. In the summer months it offers shade from the leafed out maple tree and the cool breeze falls down from the forest. The proximity to the garden will make it easy for sharing vegetable things with the chickens and for sharing chicken poop with the vegetables.
There are a few features I insisted on during the coop design process.
- I need to be able to stand up in the coop. I’m not hunching over to clean this thing out all the time.
- I want the walls to be designed so that I can add straw for insulation in the winter, if needed.
- I want the floor to be easy to clean and even hose off, if possible.
- I want the nesting boxes to be accessible from outside the run so the kids can collect eggs and I don’t have to worry about chickens escaping.
- This thing needs to be cute. I like the rustic look for sure, but I really want it to be cute too.
The Handyman didn’t take long to sketch something out that met those criteria and also fit the recommendations from Dax.
Lucky for us, there is a farm up the street that has dozens upon dozens of high-quality extra large pallets for 50 cents a piece! The Handyman also had few solid wood doors, some amazing antique hinges, and some translucent fiberglass roofing material leftover from various jobs.
So, starting with a nice, solid, framed oak pallet for the base, the Handyman began the coop.

Pallets make up the base and sides
Using pallets is a great way to reduce your environmental impact and save some money, but it certainly doesn’t make the job any easier. Everything must be squared, shimmed, and shored up to make up for the fact that the wood is imperfect and nothing matches. Additionally, the poor Handyman was working on a very slight slope, making it even more challenging to get everything square.
Once the sides were up, the corners squared, and Creepy Shed had a little patchwork done, the roof went on. We got really lucky because the Handyman had scrap roofing material from a previous job. It is translucent corrugated fiberglass, which is just perfect because it will let the light in to help warm the coop during the winter, but in summer the roof is shaded by the maple tree so it won’t be a hot house in there.
Look at how much light it lets in!
The roof pieces overlap each other, the roof overlaps the coop, and the whole roof slants to follow the slope of Creepy Shed’s roof. Between each piece of overlapping roof, and at the seam where the roof meets the wall of Creepy Shed, the Handyman applied a generous line of silicone caulking to keep the rain out.
Ok, so we have the frame of the coop. Now to start making it secure and CUTE. The Handyman and I decided on a siding style known as clapboard. Essentially, you attach siding horizontally, from the bottom up, placing the next piece so that it just overlaps the one below. So, using repurposed pallet deckboards this time, he started building. Before nailing the siding, he attached a heavy wire mesh to the frame and it will eventually be buried a few inches under the soil all the way around the coop. This is to prevent any nefarious critters from getting in.
I am just in love with the vintage feel that clapboard siding brings to this coop. It’s also a great way to work with pre-cut slats of wood that might not be the correct length, because it’s a very forgiving look. For our little farmhouse it will blend in perfectly.
Once he got up a few feet, it was time to attach a nesting box. I requested a box that would stick out of the coop to save living space for the hens, and with an opening outside of the run so that I can let the kids check for eggs without worrying about the chickens escaping. So the Handyman built me a three-nest box that the kids can access without going in the run.
To make it easy to check for eggs, he built an access door using old barn door hinges and some reclaimed wood. He also continued the clapboard siding on the outside of the nest box. To make sure everything is secure against drafts, he sealed all the seams with silicone caulking.
Now that the hard part is done, the Handyman continued the clapboard siding up and around the remainder of the coop, framed out and hung the door, and sealed all the gaps so it will be free from drafts.
The floor of the coop is of particular concern for me. I know that the gaps between the deckboards of the base pallet will allow debris (read: chicken poop) to fall down below, and it could also possibly allow things to get up into the coop through the gaps. Additionally, I want to make sure that the surface of the floor is as smooth as possible so that I can sweep, scrape, spray, mop, etc. The Handyman’s suggested solution was to place a sheet of plywood on the floor of the coop, cover it with peel-and-stick vinyl floor tiles, and create tight right angles with the walls to make cleaning easier.
As a final step, he used leftover 2x4s to create a tight slide lock (viewable in the last picture). No warping doors for us! Now I have a chicken coop that I can stand up in, that gets sun exposure in the winter, gets shade in the hot summer months, has space in the walls for adding straw for insulation, has exterior nesting box access, has a floor that’s easy to clean, and is freaking cute! All it needs now is ventilation holes, a good scrubbing, some landscaping, and a run. I love the color of the sign and the nesting box door. I’m thinking about painting the coop door to match. Thoughts?
So, here’s the tally:
- 10 pallets
- 1 sheet of plywood
- 12 peel-and-stick vinyl tiles
- door
- 4 2x4s
- 2 barn door hinges
- 2 regular door hinges
- corrugated fiberglass panels
- various screws and nails
- silicone caulking
Now, a lot of this was stuff we had laying around in the Handyman’s workshop, so our cost was pretty minimal. In fact, a lot of this stuff would have just gotten thrown away eventually, if not for this project.
- $.50 per pallet
- $15 for plywood
- $.44 each per vinyl tile
- $5 worth of screws and nails
- $3 tube of caulking
This puts our total out-of-pocket cost at $33.28.

Now, I don’t expect that everyone has access to old doors, fiberglass panels, or their own private Handyman. These are not step-by-step directions on exactly what you should do. This is just an example of how being resourceful saves a LOT of money and gets you a really cool, customized chicken coop. Any one of the things on this list could be substituted for something else. It is possible to spend very little money and still get exactly what you want. Next up: building the chicken run and then painting!
My Handyman